Razorpay
Accept payments.

This snippet shows how to accept a payment with Razorpay in a Next.js app while keeping your secret key on the server. The browser never talks to Razorpay's order API directly; instead it calls a serverless API route that creates the order with your secret credentials, returns a safe subset of the order back, and then the client opens Razorpay's hosted Checkout widget to collect the payment. This split is what keeps the integration secure and prevents a user from tampering with the amount.
Code
import Head from "next/head";
import styles from "../styles/Home.module.css";
export default function Home() {
async function displayRazorpay() {
const res = await loadRazorpay();
if (!res) {
alert("Razorpay SDK Failed to load");
return;
}
// Make API call to the serverless API
const data = await fetch("/api/razorpay", { method: "POST" }).then((t) =>
t.json()
);
var options = {
key: process.env.RAZORPAY_KEY, // Enter the Key ID generated from the Dashboard
name: "Carson Rodrigues Pvt Ltd",
currency: data.currency,
amount: data.amount,
order_id: data.id,
description: "Thankyou for your test donation",
image: "https://carsonrodrigues.com/logo.png",
handler: function (response) {
alert(response.razorpay_payment_id);
alert(response.razorpay_order_id);
alert(response.razorpay_signature);
},
prefill: {
name: "Carson Rodrigues",
email: "rodriguescarsonwork@gmail.com",
contact: "9999999999",
},
};
const paymentObject = new window.Razorpay(options);
paymentObject.open();
}
const loadRazorpay = () => {
return new Promise((resolve) => {
const script = document.createElement("script");
script.src = "https://checkout.razorpay.com/v1/checkout.js";
// document.body.appendChild(script);
script.onload = () => {
resolve(true);
};
script.onerror = () => {
resolve(false);
};
document.body.appendChild(script);
});
};
return (
<div className={styles.container}>
<Head>
<title>Create Next App</title>
<link rel="icon" href="/favicon.ico" />
</Head>
<main className={styles.main}>
<h1 className={styles.title}>
Welcome to{" "}
<a href="https://github.com/rodriguescarson">
Razorpay Payments with Next.js
</a>
</h1>
<div className={styles.makePayment}>
<a onClick={displayRazorpay}>
<h3>Make Payment →</h3>
</a>
</div>
</main>
</div>
);
}
const Razorpay = require("razorpay");
const shortid = require("shortid");

export default async function handler(req, res) {
  if (req.method === "POST") {
    // Initialize razorpay object
    const razorpay = new Razorpay({
      key_id: process.env.RAZORPAY_KEY,
      key_secret: process.env.RAZORPAY_SECRET,
    });

    // Create an order -> generate the OrderID -> Send it to the Front-end
    // Also, check the amount and currency on the backend (Security measure)

    const payment_capture = 1;
    const amount = 499;
    const currency = "INR";
    const options = {
      amount: (amount * 100).toString(),
      currency,
      receipt: shortid.generate(),
      payment_capture,
    };

    try {
      const response = await razorpay.orders.create(options);

      res.status(200).json({
        id: response.id,
        currency: response.currency,
        amount: response.amount,
      });
    } catch (err) {
      res.status(400).json(err);
    }
  } else {
    // Handle any other HTTP method
  }
}
Usage
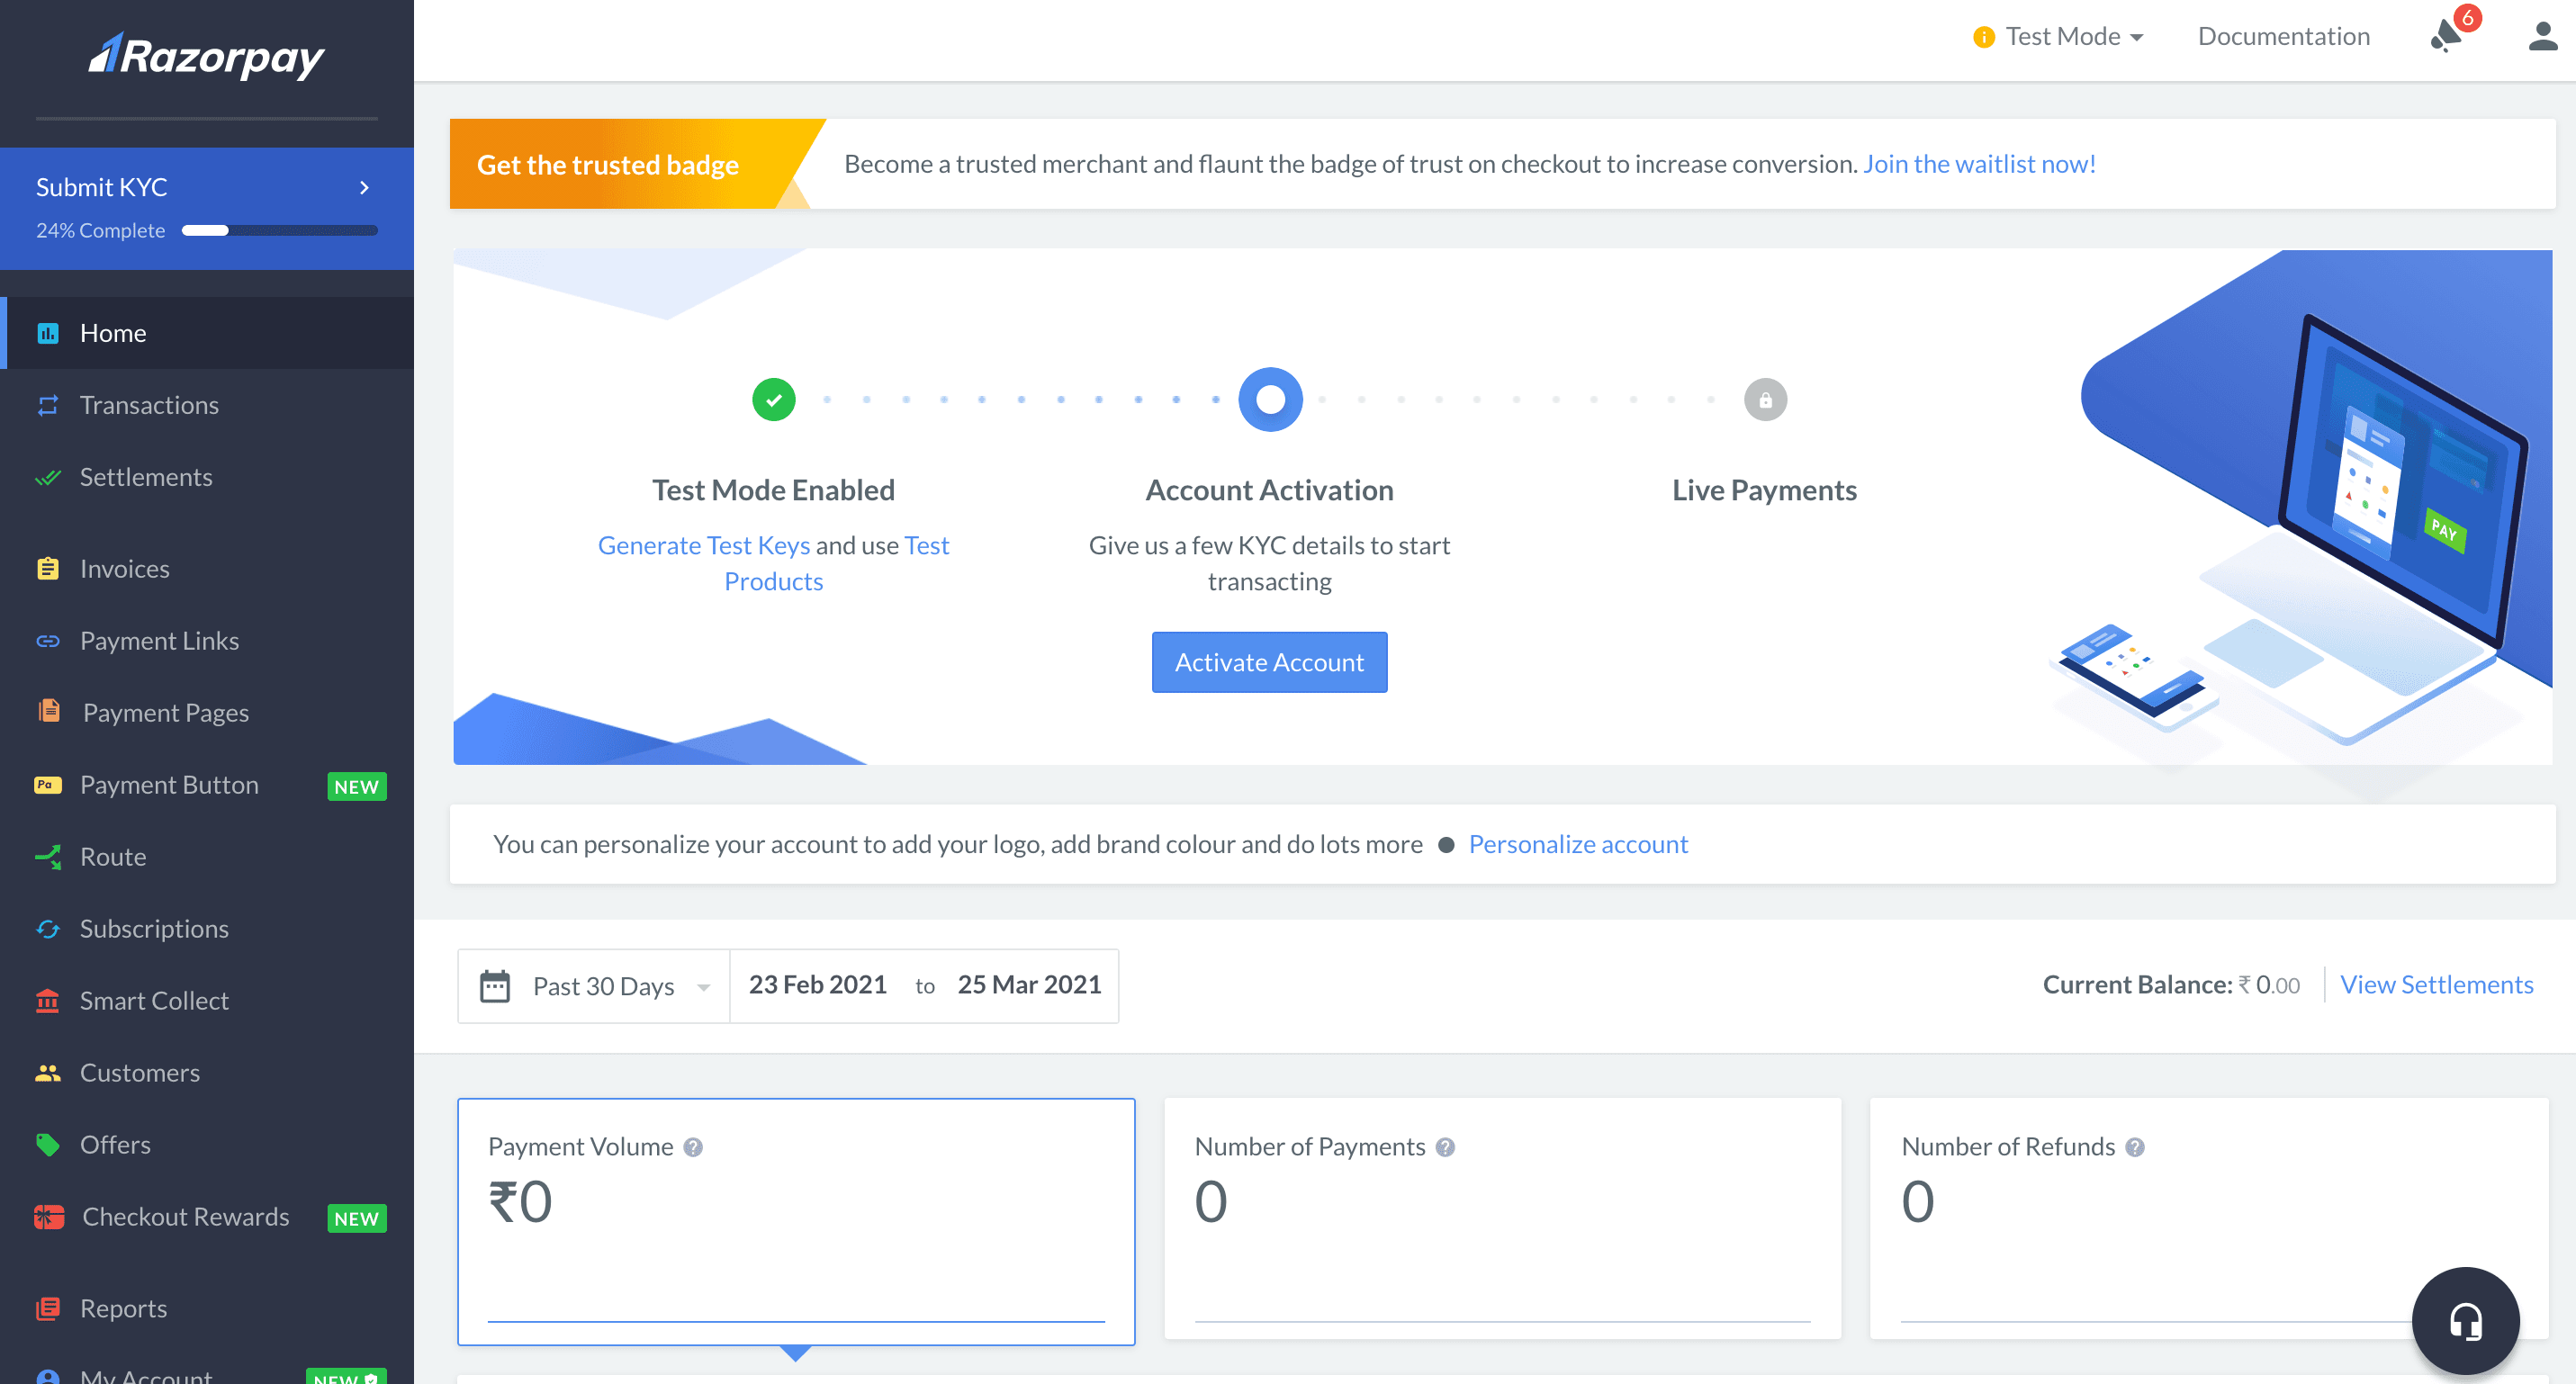
Create an Account on Razorpay
- Head over to Razorpay and create an account
- Generate the API keys which can be found in the
Test Modedashboard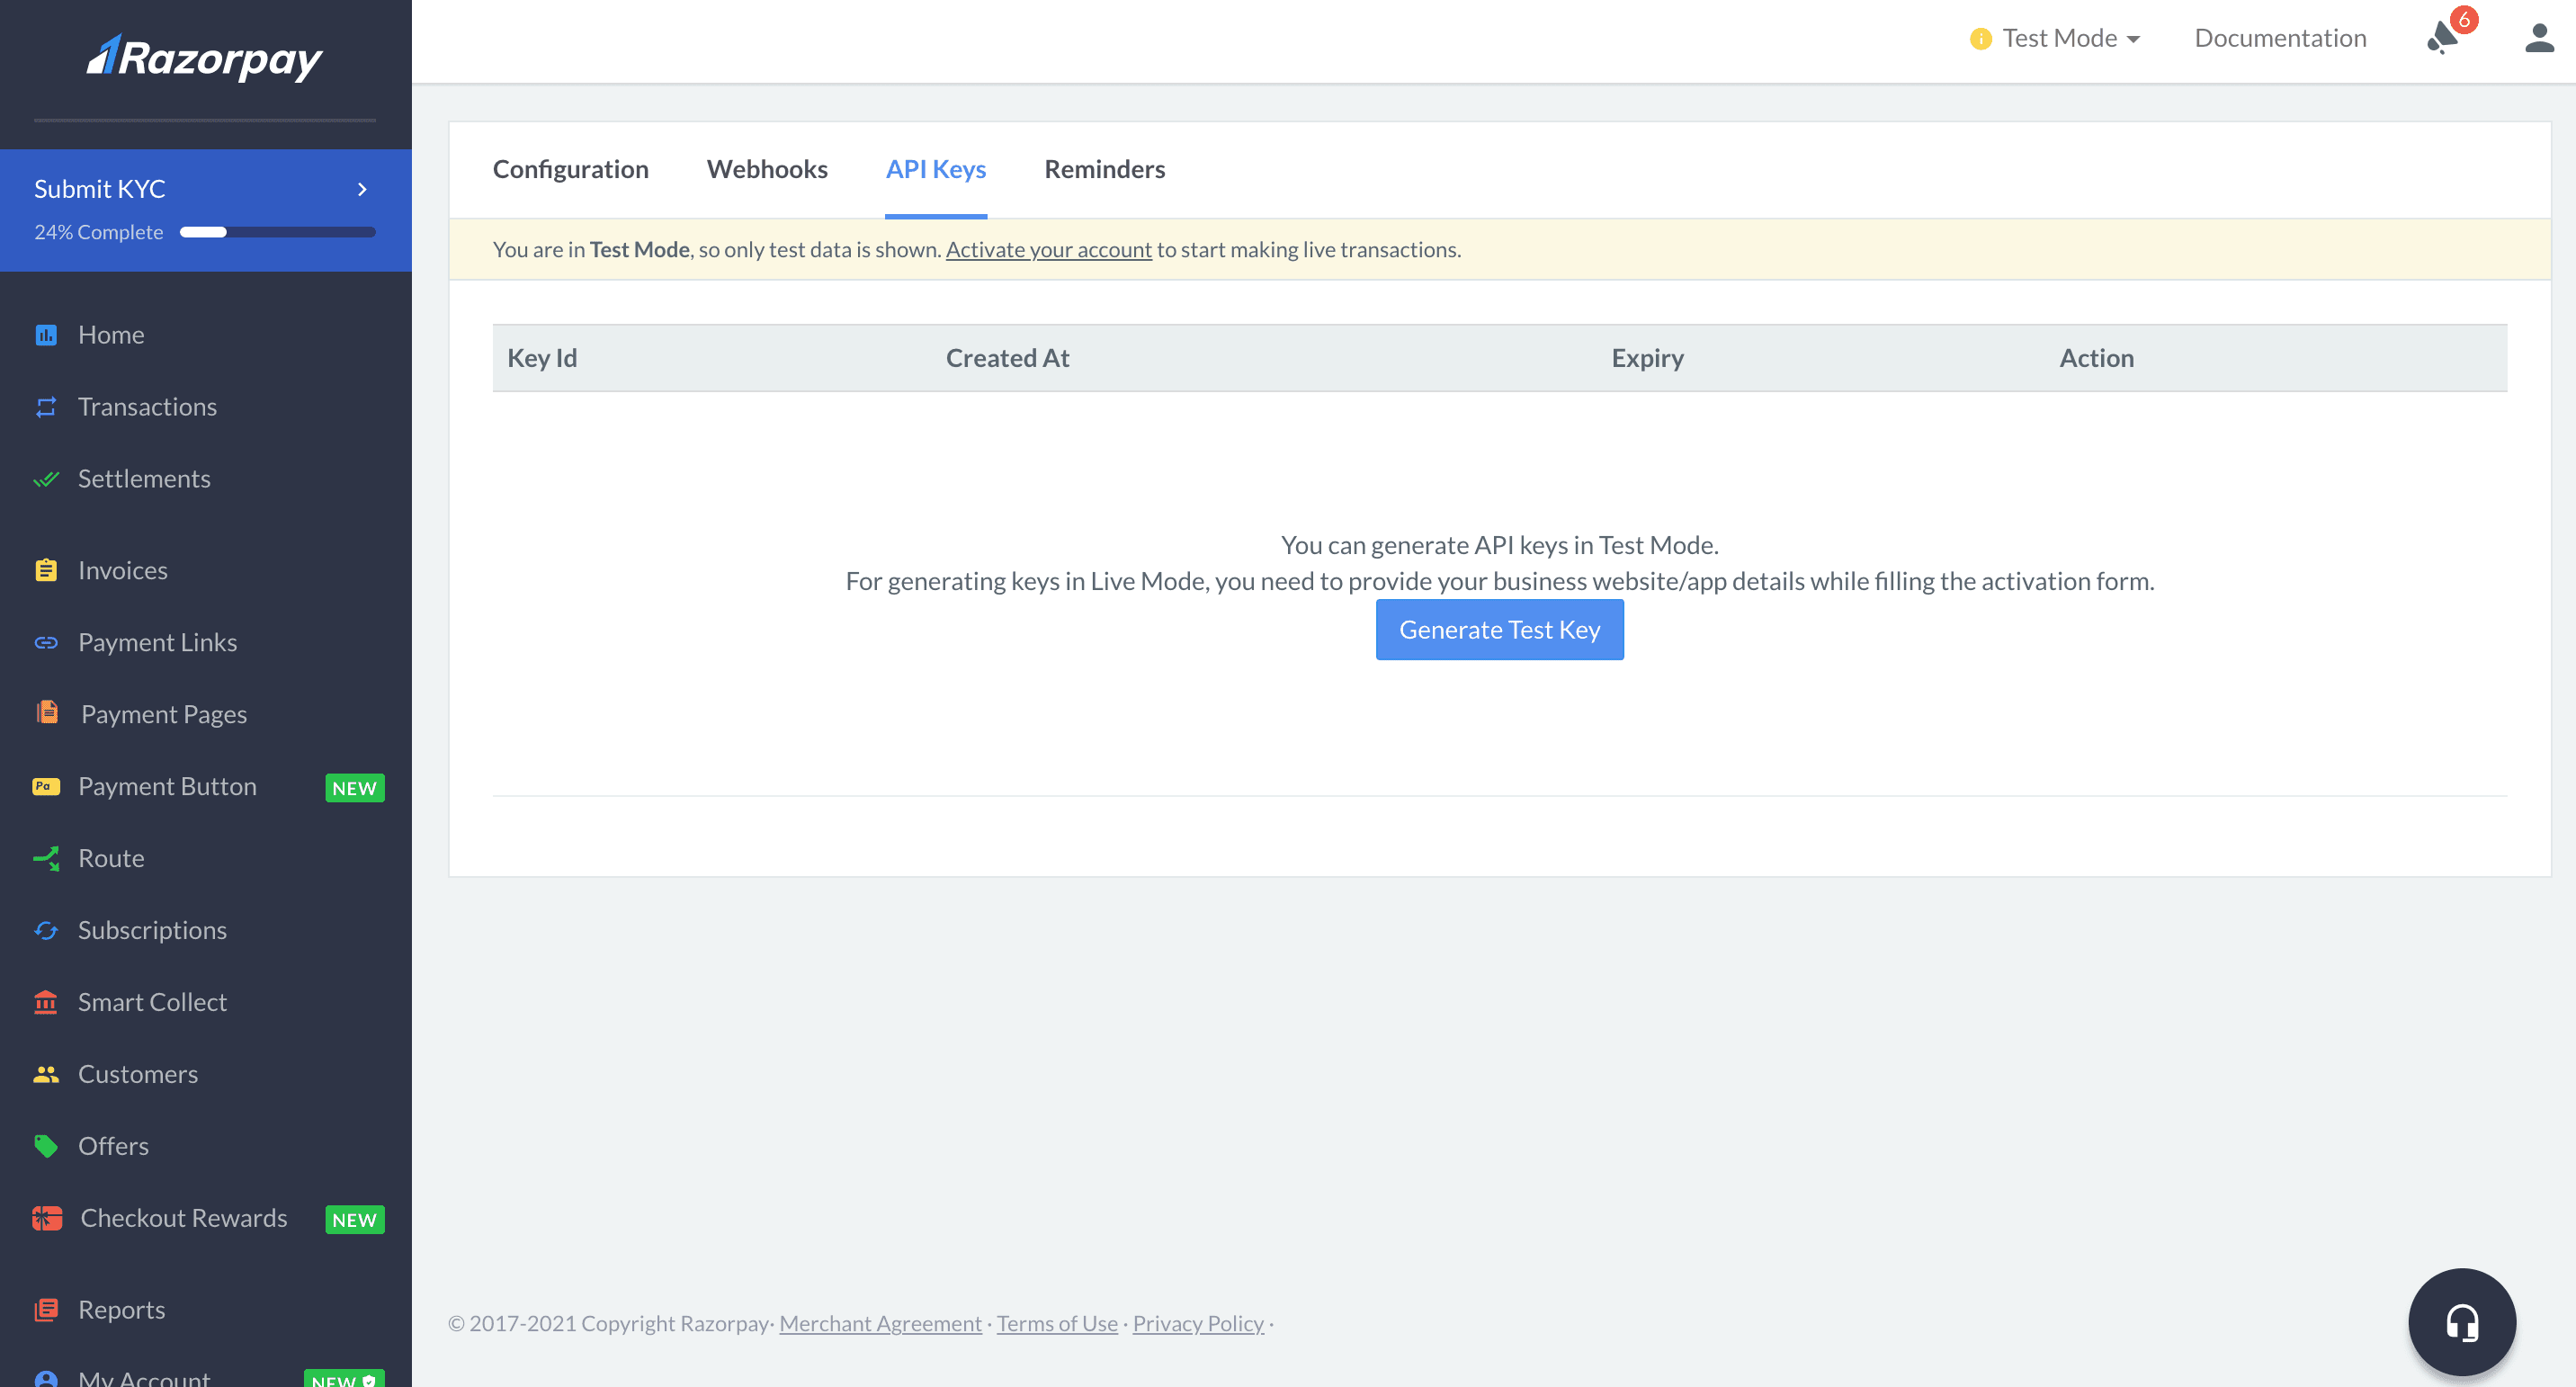
- Store the API keys in environment variables, example environment file is provided in the source code.
- We use serverless functions (api routes in Next.js) which acts as our backend to create
order_id.
How it works
The flow has two halves, a client component and a serverless API route.
On the client, index.js first injects Razorpay's Checkout script. loadRazorpay creates a <script> element pointing at https://checkout.razorpay.com/v1/checkout.js, appends it to the document body, and resolves a promise to true on load or false on error. The button handler displayRazorpay awaits that, then POSTs to /api/razorpay and reads back the order's id, currency, and amount. It builds the Checkout options object, your public key, the business name, the returned currency and amount, the order_id, a description, prefilled buyer details, and a handler callback, then calls new window.Razorpay(options).open() to launch the modal. When the payment completes, the handler receives razorpay_payment_id, razorpay_order_id, and razorpay_signature.
On the server, /api/razorpay.js only responds to POST. It constructs a Razorpay instance with key_id and key_secret from environment variables, then calls razorpay.orders.create with a hard-coded amount of 499 INR (multiplied by 100 because Razorpay works in the smallest currency unit, paise), a shortid-generated receipt, and payment_capture: 1 for automatic capture. It returns just the order id, currency, and amount to the client.
Notes & gotchas
- Keep
RAZORPAY_SECRETstrictly server-side. Only thekey_idbelongs in client code; the secret must never be bundled into the browser. Store both in environment variables and never commit them. - Decide the amount and currency on the server, as this snippet does. Never trust an amount sent from the browser, otherwise a user could pay whatever they want.
- This snippet creates the order and opens Checkout, but it does not yet verify the payment. In production you must verify the
razorpay_signaturereturned in the handler on your server (an HMAC oforder_id|payment_idusing your secret) before treating a payment as successful, and ideally also handle Razorpay webhooks for reliable confirmation. - The amount here is fixed at
499. For real products, pass the amount into the API route or look it up server-side from a trusted source such as your database. payment_capture: 1captures funds automatically. If you need manual capture (auth now, capture later), set it to0and capture explicitly.